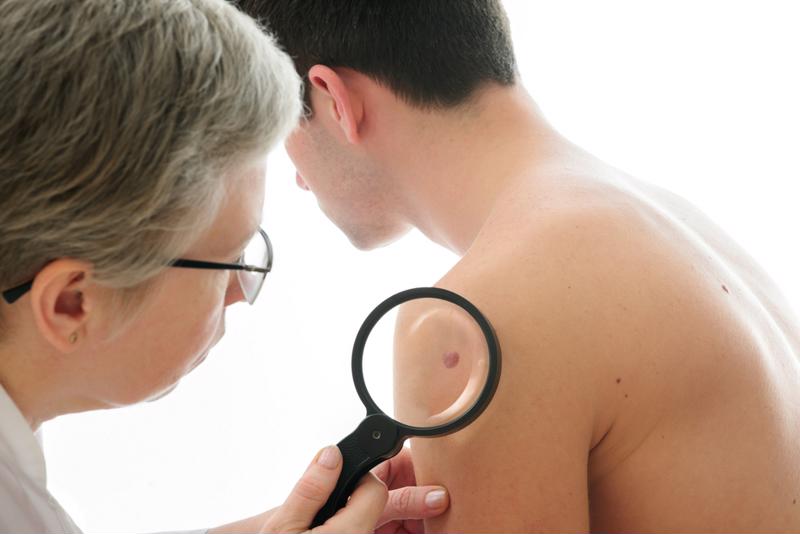
According to the American Cancer Society, as many as 3.3 million Americans are diagnosed with skin cancer every year, amounting to about 5.4 million cases, with some people developing it more than once. It’s estimated that about 2,000 people pass each year from skin cancer, but fortunately, those numbers are dropping thanks to understanding when and how to take action. Early detection of skin cancer can save your life.
Performing a self-examination on a regular basis helps you take notice of changes in your skin, such as color and size changes in existing moles or the occurrence of brand new spots.
Now that summer’s in full swing, it’s best to start paying closer attention to your skin after spending time in the sun. Here’s what you need to look for, followed by step-by-step self-examination instructions for skin cancer screening:
The ABCDE rule
According to the American Cancer Society, spotting the common signs of melanoma is simple when you keep the ABCDE rule in mind:
- Asymmetry: When one side of the mole doesn’t match the other.
- Border: You’re uncertain of the edges – the mole is irregular.
- Color: The color is not consistent. The mole may include patches of brown, black or even pink, white or blue.
- Diameter: When the spot is longer than ¼-inch.
- Evolving: You notice the spot changing in size, shape and/or color.
 Ask for help from a family member or friend during the self-exam if necessary.
Performing the Self Exam
Once you understand what you need to look for, you can go about performing the self-examination. According to the Skin Cancer Foundation, you’ll need the following tools to examine yourself properly:
- A bright light
- Full-length mirror
- Handheld mirror
- Two chairs
- Blow-dryer
- Pencil
Once you’ve gathered your tools, you can begin the self-exam. Use the pencil to measure moles or spots if you find them.
Step 1: Use your hand held mirrors to check your nose, lips, mouth and ears from front to back.
Step 2: Using the blow-dryer, expose each section of your scalp for moles and discolored spots. If you can’t see each section in the mirror, ask for help from a friend or family member.
Step 3: Check the back of your hands, palms, fingers, fingernails, wrists and forearms.
Step 4: Using the full-length mirror, lift your elbows and scan your arms, including your under arms.
Step 5: Examine your neck, chest and torso. If you’re a woman, be sure to check below and underneath your breasts.
Step 6: Turn around so your back is facing the full-length mirror. Using the hand-held mirror, inspect the back of your neck, shoulders and upper back. Continue to examine all other areas of your upper back.
Step 7: Continue looking at your back, paying close attention to your lower back, behind and legs.
Step 8: Sitting down in one of the chairs, prop your legs up on the other chair. Use the hand-held mirror to examine your genitals, thighs, shins, ankles, tops of feet, toes, under the toenail, soles and heels of the feet.
Continue practicing this self-exam at least once a month. If you notice a suspicious mole, seek help from a medical professional.
The post How to Self-Check Your Moles for Skin Cancer appeared first on Plant-Based Diet – Recipes & Weight Loss Supplements | Hallelujah Diet.